Adding a page-specific image to pages helps them to stand out when shared on social media and can enhance the first impression your customers get, if that image is reused in a hero panel.
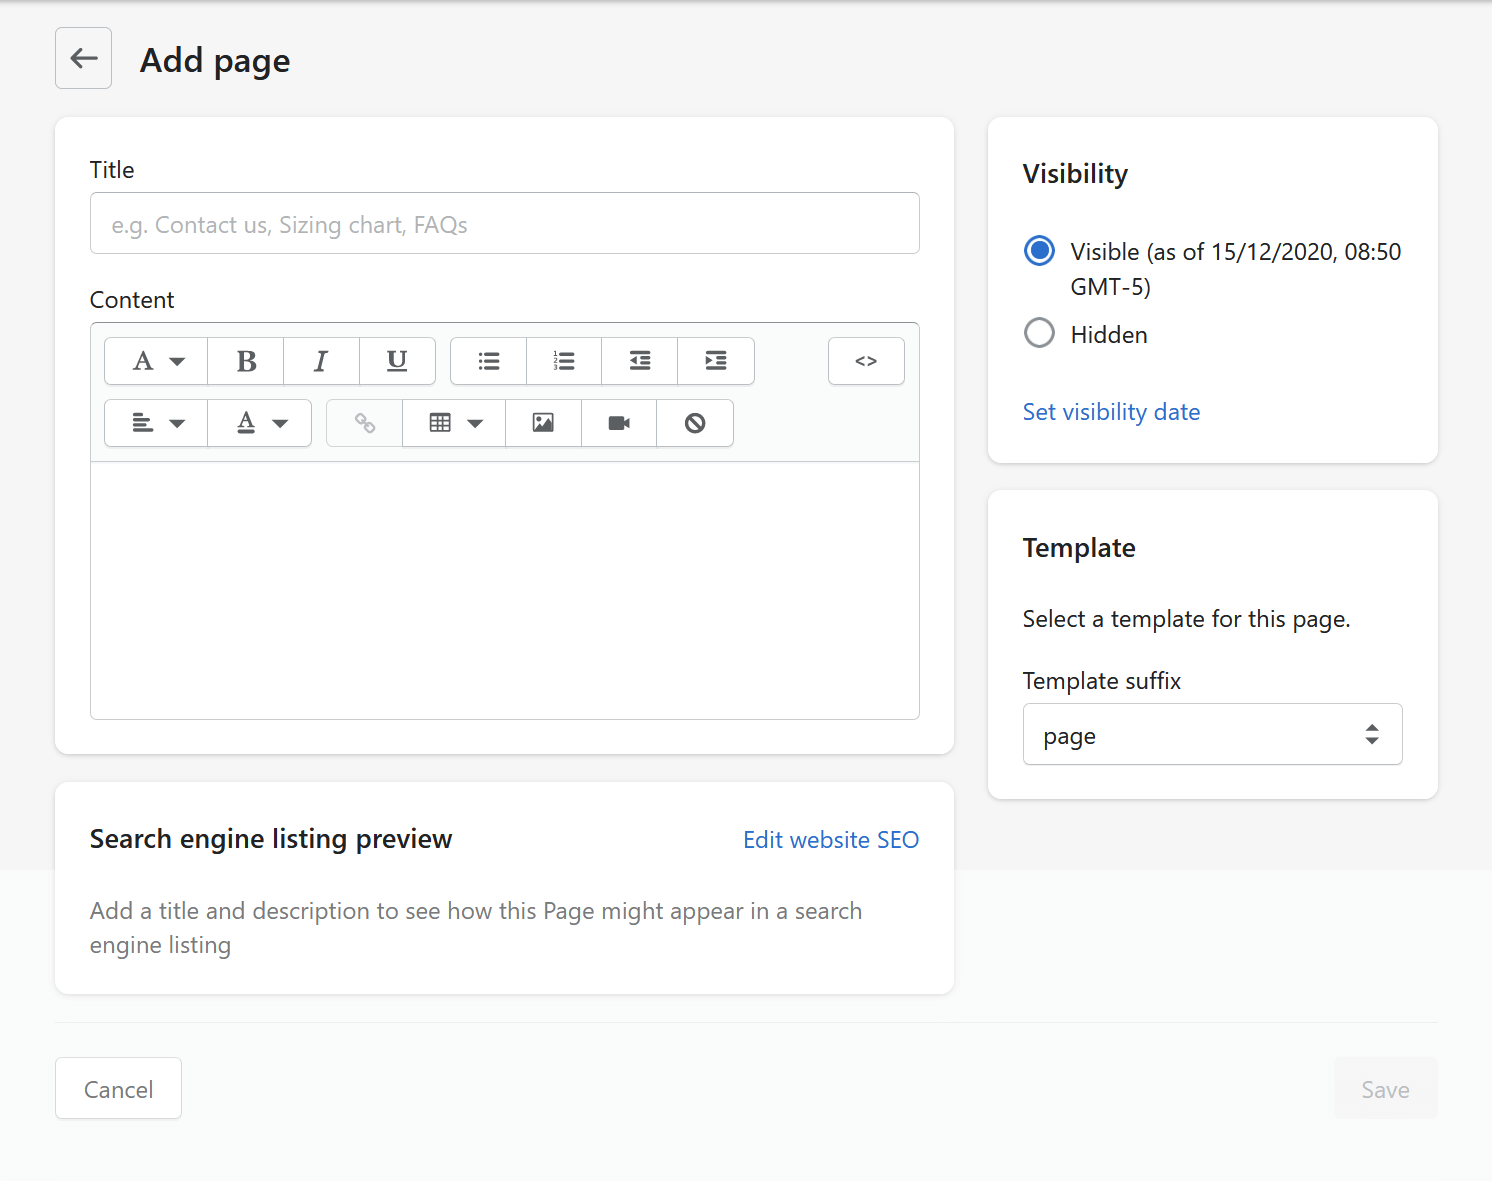
Out of the box, Shopify lets you edit very little information about a normal page.

Your content authors just get the following:
- Title
- Content (WYSIWYG field)
- Page title
- Description (for SEO purposes)
- URL and handle
... but nothing which lets us plonk a nice, eye-catching image in a hero panel. Or, more importantly, adds a thumbnail image to the link, when someone shares it on social media.
Getting a handle on the situation
What Shopify does generate automatically is something it calles a handle. Here's an example: let's say you created a page called Our controversial founder, Marcel de Scélérat
. Shopify would create a handle from this text which would read as follows: our-controversial-founder-marcel-de-scelerat. Notice how everything is now lower-case, all of the spaces have been converted into hyphens and all the extended characters have been converted to the boring English versions.
This handle is used to generate the URL of the page, but can also be added to liquid templates like this:
{{ handle }}Shopify and images
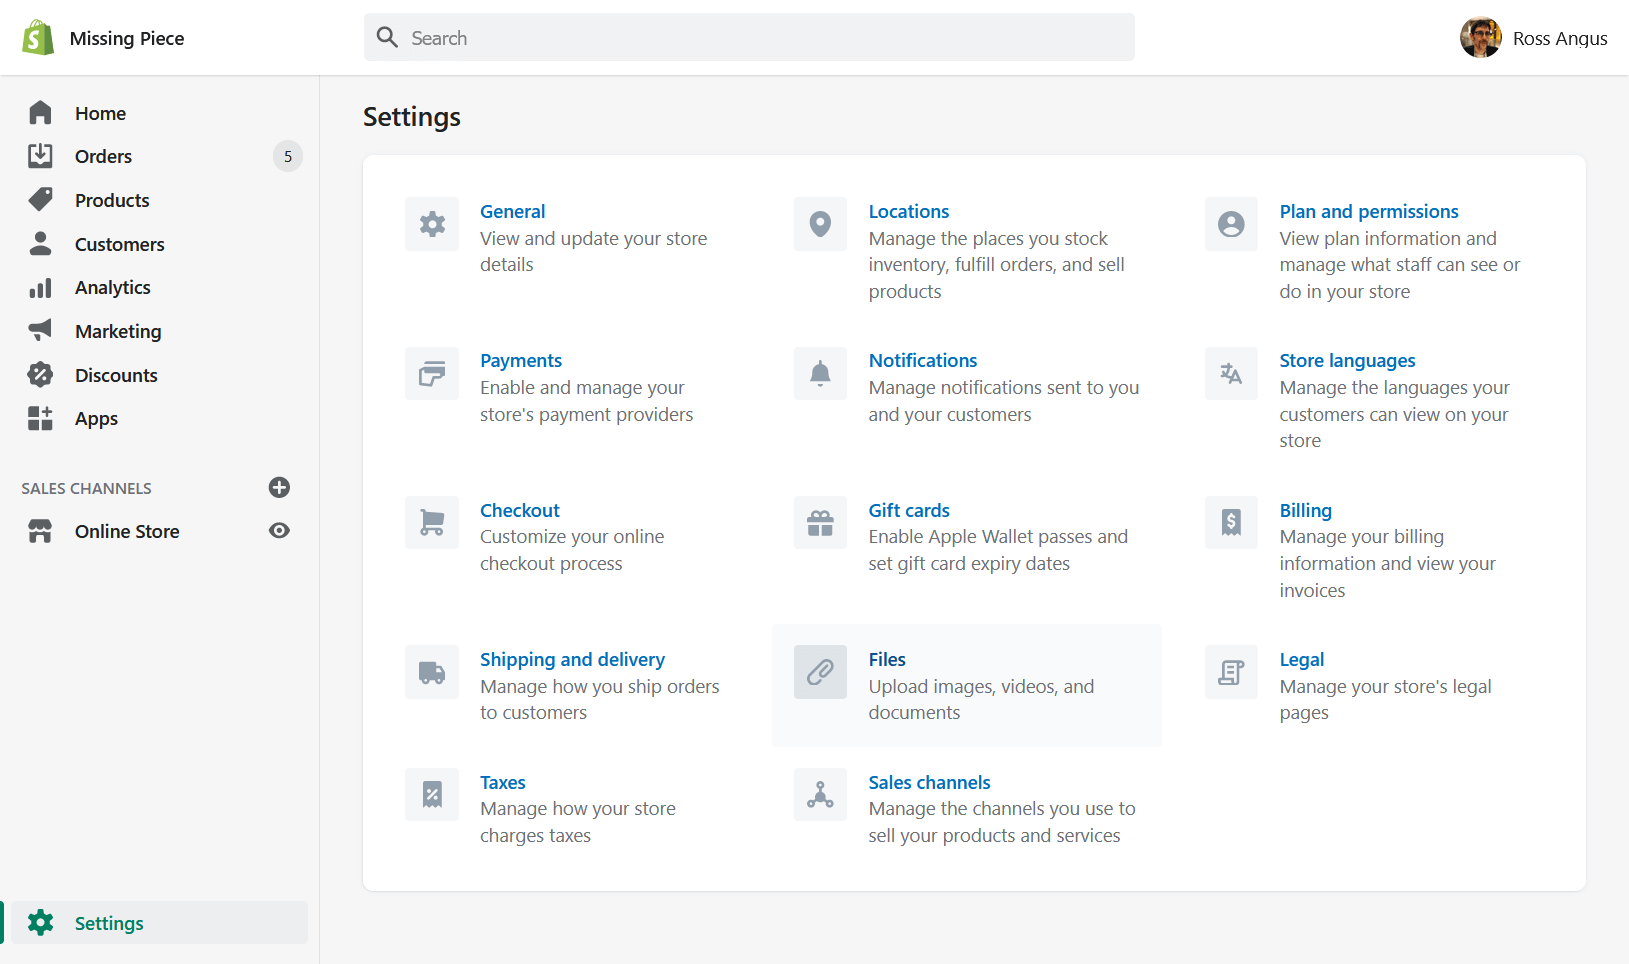
Shopify has a few different kinds of images, but from a content author's perspective, there's really only one. If you click on Settings
(bottom left), then select Files
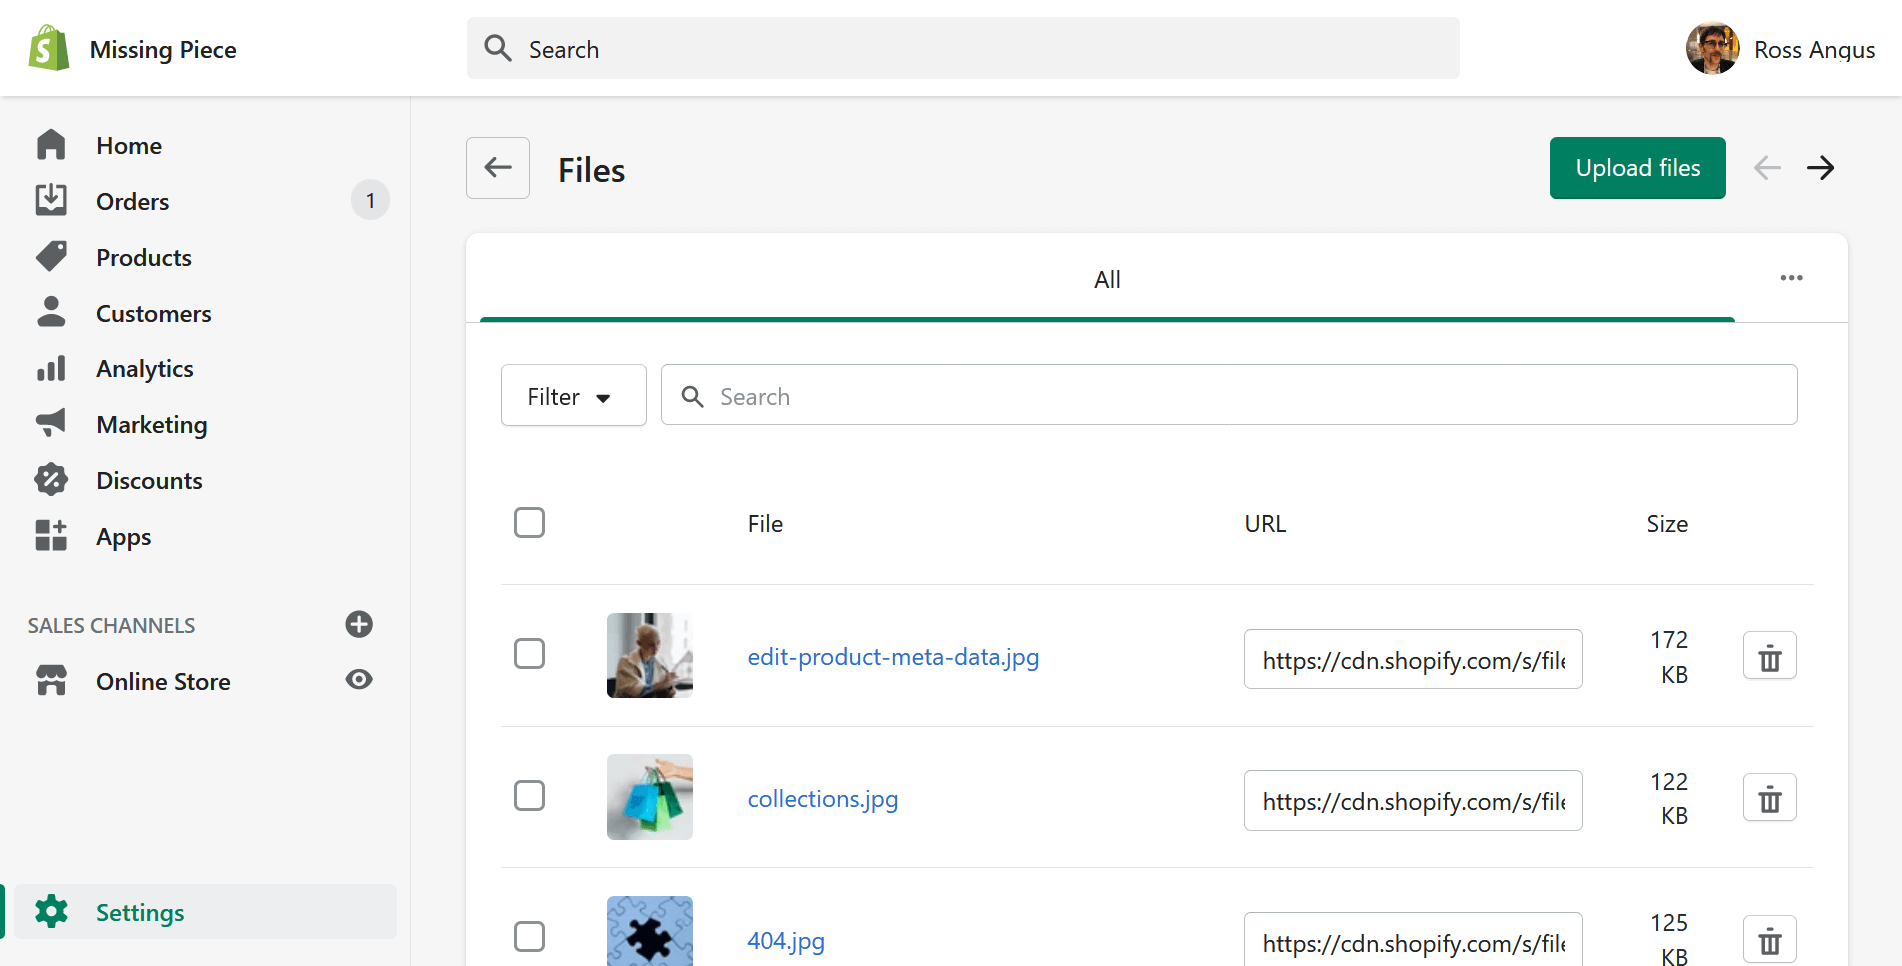
, you'll see a selection of the images on your site which can be managed when not editing a product or article:

The list of files looks like this:

Naming convention
If content authors upload images and give them the same name as the handle of the page they're intended for, we can match them up. Here's an example.
I usually include social media share images (or Open Graph
images) in three ways:
<meta property="og:image" content="og.jpg">
  <meta itemprop="image" content="og.jpg">
<link rel="image_src" href="og.jpg">
Note that Shopify have their own recommendations on how to add Open Graph images, but they come with the limitation that for normal pages on your site, there is one Open Graph image to rule them all. Your legal page and your contact page will look the same, when shared on social media.
Open Graph images on pages
Expaning upon an original example by Ricky Dazla, Finetune Partner's Mannequin repo on Github allows you to add unique Open Graph images for pages, articles and products, without using Metafields. The code to do this appears in a snippet, as some Shopify themes have more than one layout.
View Open Graph snippet on GitHub
The original solution used the page handle to generate a path to an image content authors could add to your Shop's files:
{% if handle != blank %}
  {% capture page-img %}{{ handle }}.jpg{% endcapture %}
  {% else %}
  {% capture page-img %}og-default.jpg{% endcapture %}
  {% endif %}
  <meta property="og:image" content="{{ page-img | file_img_url: '1200x630', crop: 'center' }}">
  <meta itemprop="image" content="{{ page-img | file_img_url: '1200x630', crop: 'center' }}">
  <link rel="image_src" href="{{ page-img | file_img_url: '1200x630', crop: 'center' }}">
This code attempts to create a string representing the path to an image in the files menu. If there isn't a handle, it falls back to a default image (the home page of your shop usually doesn't have a handle).
Because we can't nest liquid logic, we need to define page-img as a kind of variable, using {% capture %}.
This gets passed to file_img_url, and resized into the standard 1200x630 size favoured by most social media outlets.
Note that we cannot check if the content author has added an image which matches the handle of the page using liquid logic alone. This means that if your content authors fail to provide an image, Shopify will fall back to their not found
image.
Hang on - what about blog posts or product pages?
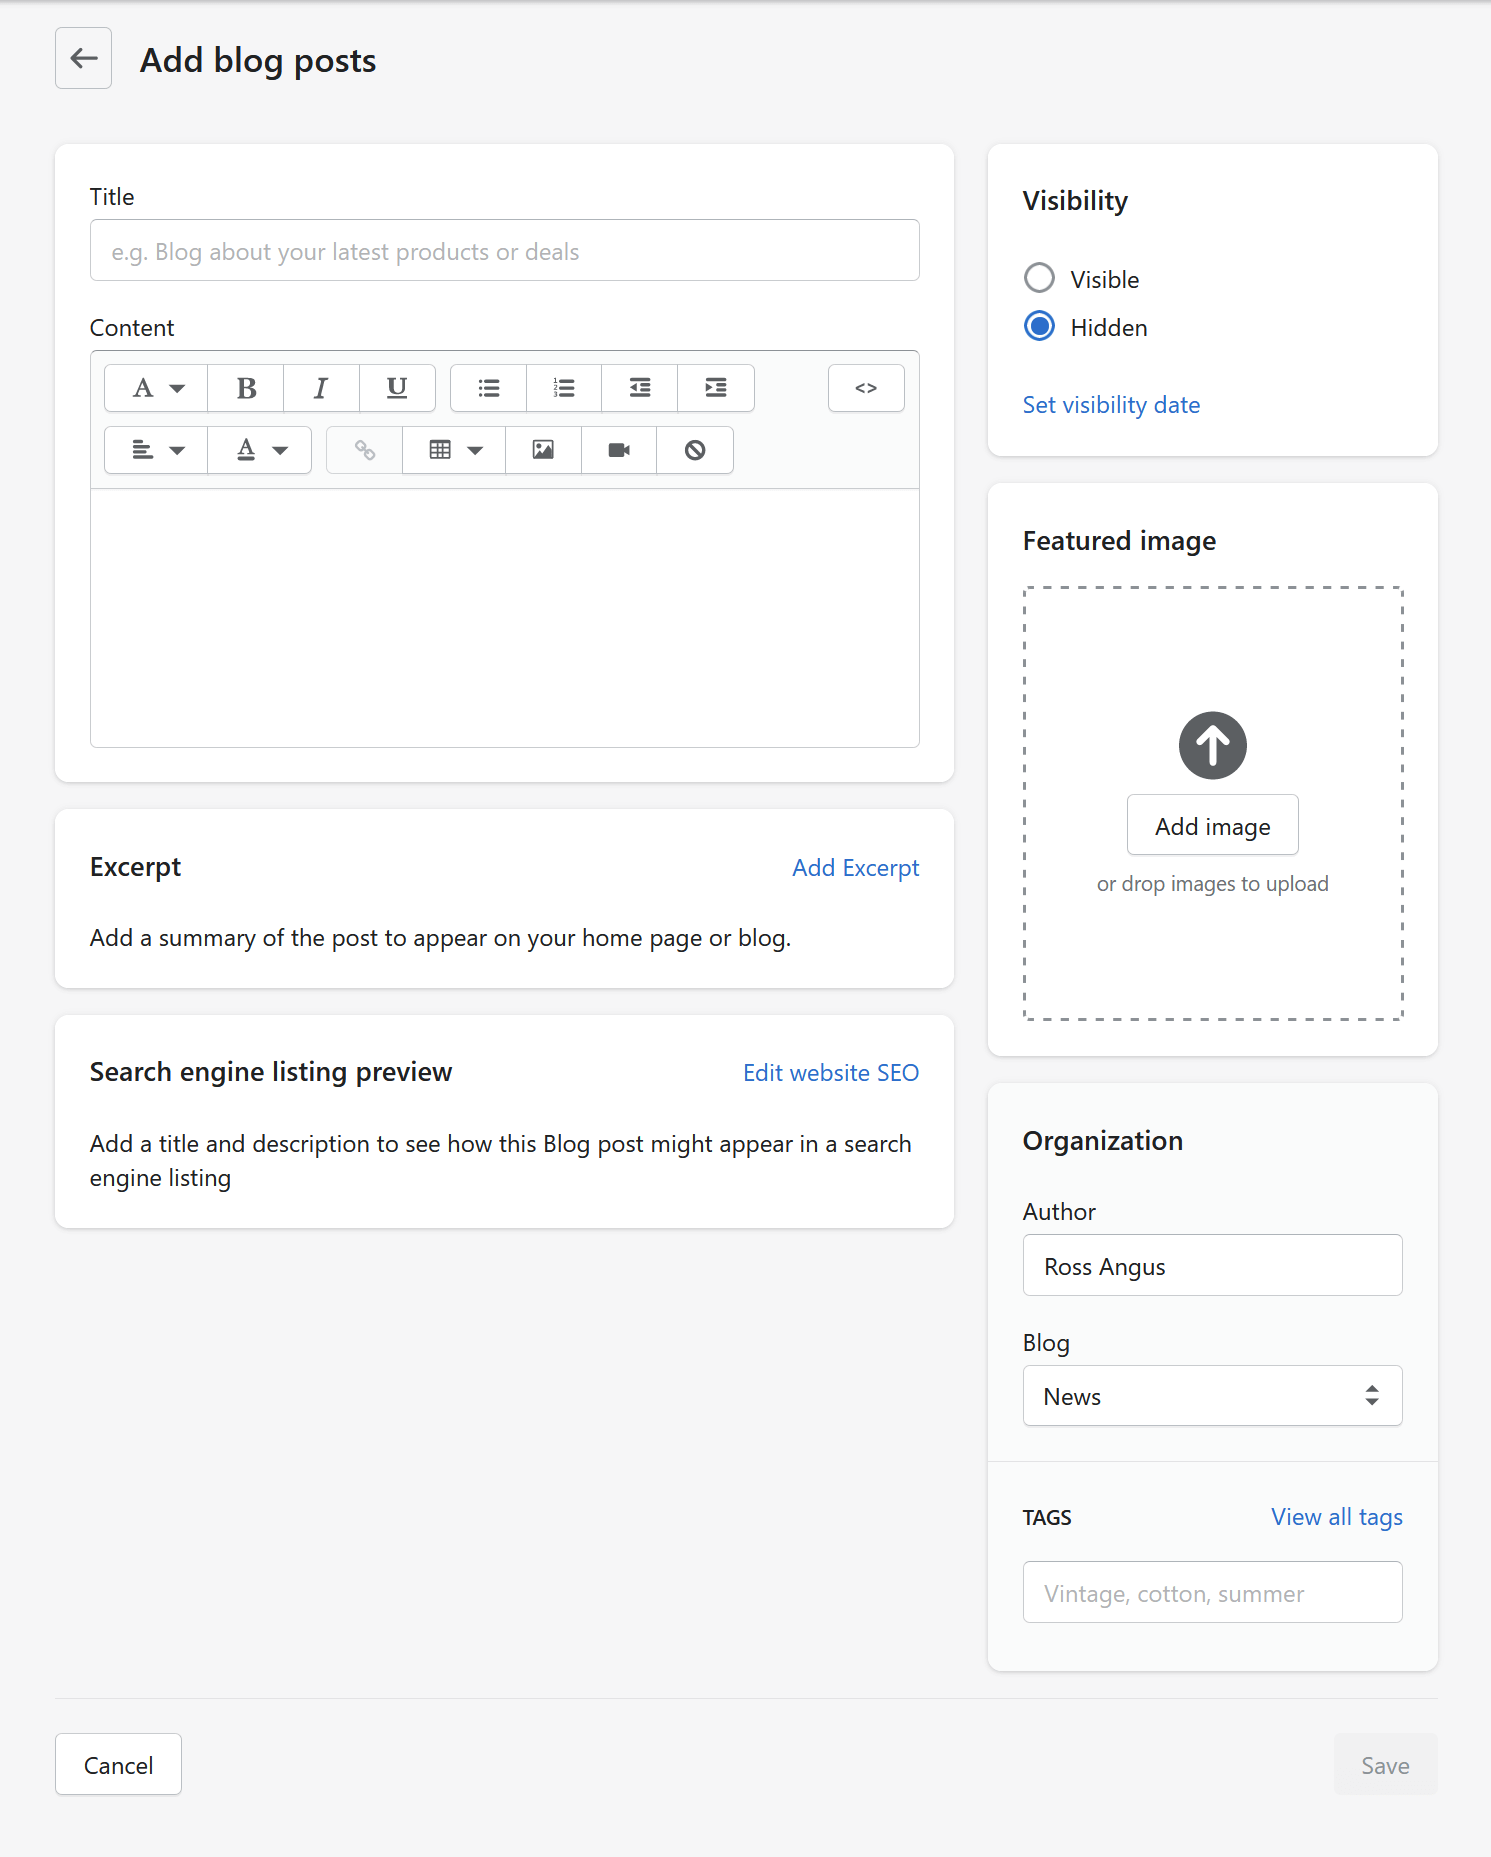
Blog posts and products are different to pages, in that you can assign an image to them:

Blog posts have an article.image object, where as products have a product.featured_image object. The Mannequin version of the Open Graph code checks for those kind of images first.
Blog and product images are stored in a different location from the files menu of Shopify, so we need to use a different parameter, in order to access them. Where as pages use image_src, product and blog images use image_url. This doubles-up on the tags (but only one set of tags are output into the final page).
Reusing this technique for page images
We can use this trick to pull in the same image into the page, for example in a hero panel. The snippet page-images.liquid in Mannequin demonstrates this technique. Note that as this snippet is designed to be included on pages and not blog articles or product pages, it is closer to Ricky Dazla's original code.
View page images snippet on GitHub
Because liquid only allows us to determine if page.handle has a value or not, there's not a means for us to check if an image matching page-img exists. The onerror attribute is added, in order to dynamically hide broken images.
What if you want to add more than one image?
Attaching additional data to individual pages, products, articles, collections or product variants is possible using metafields. This allows you to (for example) create a carousel of images which is different on different pages. You might have noticed that page-images.liquid checks for the metafield page.metafields.global.image, to see if it can add a second image. If you're interested in learing more about this technique, you might find our article on metafields useful.